
Chain link fences offer versatility‚ durability‚ and cost-effectiveness‚ making them a popular choice for residential and commercial use. This guide provides step-by-step instructions for successful installation‚ covering planning‚ materials‚ and proper techniques to ensure a sturdy and long-lasting fence.
Overview of Chain Link Fences
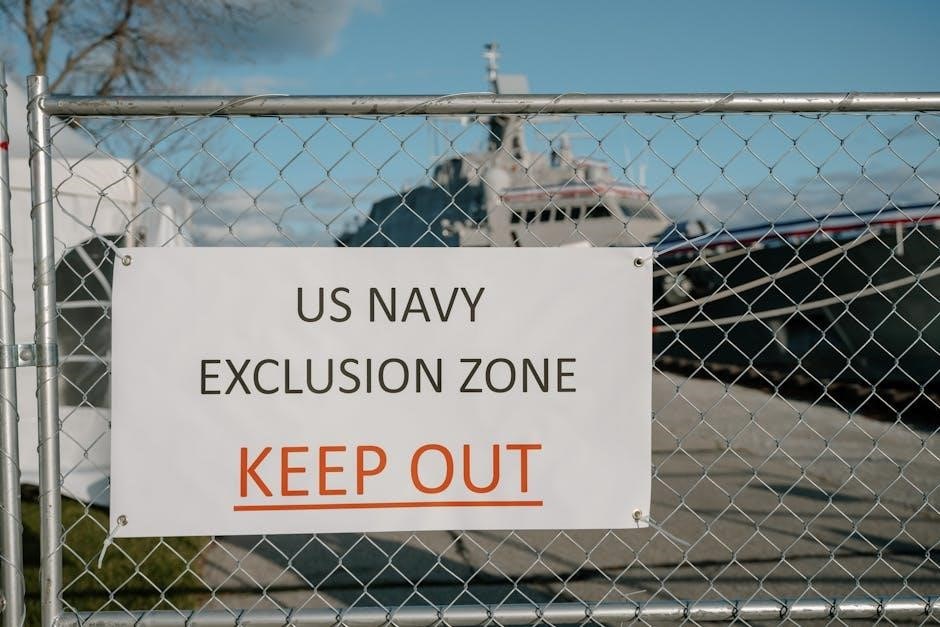
Chain link fences are durable‚ versatile‚ and cost-effective solutions for enclosing residential‚ commercial‚ or industrial spaces. Made from galvanized steel wire‚ these fences are woven into a diamond-shaped mesh pattern‚ providing both security and visibility. They are often used for perimeter fencing‚ sports enclosures‚ or temporary barriers. Chain link fences are lightweight‚ easy to install‚ and require minimal maintenance‚ making them a practical choice for various applications. Their adaptability to different heights and finishes ensures they suit diverse needs and environments.
Importance of Proper Installation
Importance of Proper Installation
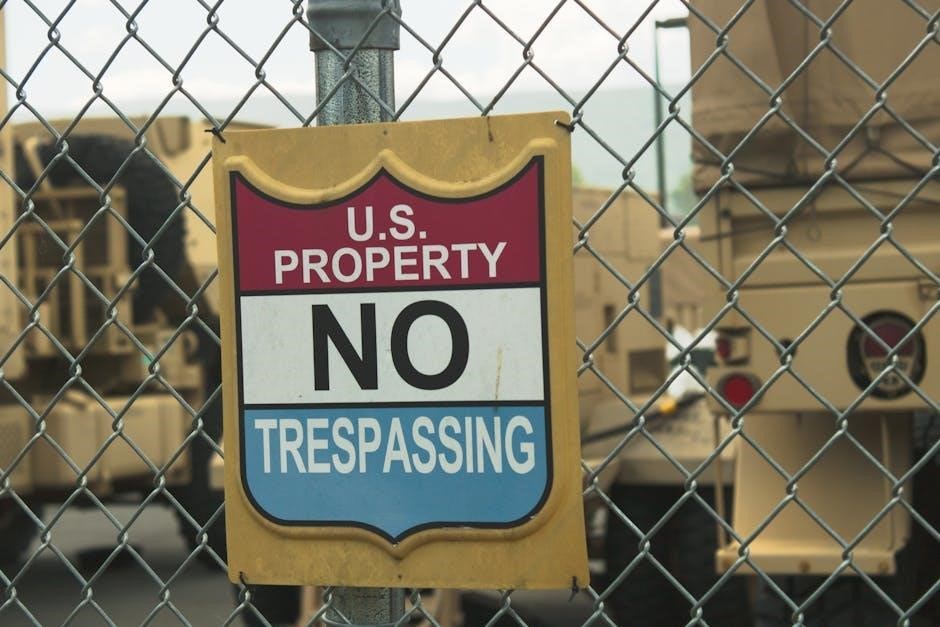
Proper installation is crucial for ensuring the stability‚ durability‚ and safety of a chain link fence. Incorrect techniques can lead to structural weaknesses‚ sagging‚ and premature wear. Securely setting posts‚ tight-ening the fabric‚ and using the right hardware prevents damage from weather or heavy use. A well-installed fence also enhances security and aesthetic appeal‚ protecting investments and providing long-term value. Following installation guidelines ensures compliance with local regulations and guarantees a professional finish that withstands time and environmental challenges effectively.
Planning and Preparation
Planning involves assessing the landscape‚ determining the fence’s purpose‚ and selecting materials. Proper preparation ensures a smooth and efficient installation process.
Obtaining Necessary Permits
Before starting your chain link fence installation‚ ensure you obtain all required permits. Check local zoning laws and building codes to determine if a permit is needed. Contact your local government or homeowner’s association to confirm regulations regarding fence height‚ style‚ and placement. Failure to secure proper permits may result in fines or removal of the fence. Additionally‚ consult with utility companies to locate underground cables or pipelines to avoid accidental damage during installation. Proper documentation ensures compliance and avoids legal issues.
Tools and Materials Required
To install a chain link fence‚ gather essential tools and materials. Tools include a post-hole digger‚ shovel‚ concrete mixer‚ wire cutters‚ and pliers. Materials needed are fence posts‚ chain link fabric‚ tie wires‚ loop caps‚ and concrete. Additional items like a measuring tape‚ string‚ and stakes are necessary for accurate layout. Ensure all materials are of high quality to withstand weather conditions and last longer. Proper tools and materials are crucial for a successful and durable fence installation.
Measuring and Marking the Site
Accurate measurement and marking are critical for a well-aligned fence. Use a measuring tape to determine the fence perimeter and mark property lines with stakes and string. Ensure the layout matches your plan‚ verifying corners and gate locations. Double-check measurements to avoid errors. Use a level to ensure the string line is straight and evenly spaced. Proper marking ensures the fence posts and panels align correctly‚ preventing costly adjustments later. This step sets the foundation for a successful installation.

Site Preparation
Site preparation involves clearing debris‚ marking property lines‚ and ensuring the ground is level. Check for underground utilities to avoid damage during installation. Proper preparation ensures a smooth process.
Clearing the Area
Clearing the area is essential for a successful chain link fence installation. Remove all debris‚ vegetation‚ and obstructions to ensure a clean workspace. This step allows for accurate measurements and proper post placement. Check for underground utilities to avoid damage. Level the ground to ensure even installation. Proper preparation prevents delays and ensures a sturdy fence structure. A well-prepared site guarantees a smooth and efficient installation process.
Marking Property Lines
Accurately marking property lines is crucial for legal compliance and proper fence alignment. Use a property map or survey to determine boundaries. Place stakes at each corner and run a string or spray paint along the intended fence line. Verify the alignment with neighboring landmarks or utility markers. Ensure the fence does not encroach on adjacent properties to avoid legal disputes. Double-check measurements for accuracy before proceeding with installation. Properly marked lines ensure the fence is installed correctly and respectfully within legal boundaries.
Checking for Underground Utilities
Before digging‚ identify underground utilities to avoid damaging pipes‚ cables‚ or wires. Contact local utility companies or use a utility locator service to mark underground lines. Use spray paint or flags to clearly indicate the locations. Avoid digging near marked areas to prevent accidents or service disruptions. If uncertain‚ consider hiring professionals to ensure safe excavation. Properly identifying underground utilities ensures a secure and damage-free installation process for your chain link fence.

Installing Fence Posts
Install fence posts by digging holes‚ setting them in concrete‚ and ensuring alignment. Follow standard installation parameters for hole diameter and spacing to ensure stability.
Digging Post Holes
Dig post holes using a post hole digger or power auger‚ typically 12 inches deep for standard installations. Mark the center of each hole accurately‚ ensuring alignment with the fence layout. For stability‚ holes should be 18-24 inches deep in areas with unstable soil. Use a shovel to refine the hole edges‚ ensuring they are vertical. Check for underground utilities beforehand to avoid damage. Properly dug holes ensure secure post installation and a sturdy fence foundation. Follow safety guidelines when operating digging tools.

Setting Terminal Posts
Terminal posts‚ including corner and gate posts‚ are critical for fence stability. Dig holes 18-24 inches deep and 12 inches wide. Pour 4-6 inches of concrete at the base. Insert the post‚ ensuring it’s level‚ and fill the hole with concrete. Allow the concrete to set for 24-48 hours. Properly set terminal posts ensure the fence remains secure and withstands tension. Use a spirit level to verify alignment and plumbness. Follow manufacturer’s instructions for concrete mixing and curing times to achieve maximum strength and durability.
Installing Line Posts
Line posts are installed between terminal posts‚ typically spaced 10 feet apart. Dig holes 12 inches deep and 8 inches wide using a post-hole digger. Place the post in the hole and fill with concrete‚ ensuring alignment with the string guide. Use a spirit level to check plumbness. Secure the post firmly and allow the concrete to set. Line posts provide structural support for the fence fabric and maintain its shape. Proper spacing and alignment ensure even tension and a professional finish. Fewer workers are needed for line posts compared to terminal posts.
Attaching Fence Panels
Attach fence panels by securing the chain link fabric to line posts using wire ties. Ensure the fabric is tight and evenly aligned for a professional appearance.
Unrolling and Cutting Fence Fabric
Begin by unrolling the chain link fabric along the fence line‚ ensuring it aligns with the posts. Measure and mark the fabric to the required length using a straight edge. Cut the fabric with a wire cutter or bolt cutter‚ leaving a small margin for adjustment. Secure the fabric temporarily to prevent movement during the cutting process. Ensure the mesh size and wire thickness match your project specifications for consistency and durability.
Securing Fabric to Posts
Attach the chain link fabric to the terminal posts using wire ties or aluminum ties. Wrap the fabric around the post and secure it tightly at the top‚ middle‚ and bottom. For line posts‚ weave the fabric through and tie it with tie wires‚ ensuring it is evenly spaced and taut. Tighten the fabric by pulling it firmly between posts to remove slack. Use wire cutters to trim excess material and ensure a secure‚ professional finish.
Tightening the Fence
To tighten the chain link fence‚ pull the fabric taut between terminal posts using a winch or wrench. Secure the tension wire at both ends with loop caps or tighteners. Ensure the fabric is evenly spaced and free of sagging. Tighten the tie wires around each post to maintain stability. For higher fences‚ additional tension wires may be required. Regularly check and tighten the fence to prevent loosening over time‚ ensuring long-lasting durability and security.
Adding Hardware and Accessories
Install gate hardware securely‚ ensuring smooth operation. Add tension wire along the top for stability and tie wires to fasten the fabric tightly to posts‚ enhancing security.
Installing Gate Hardware
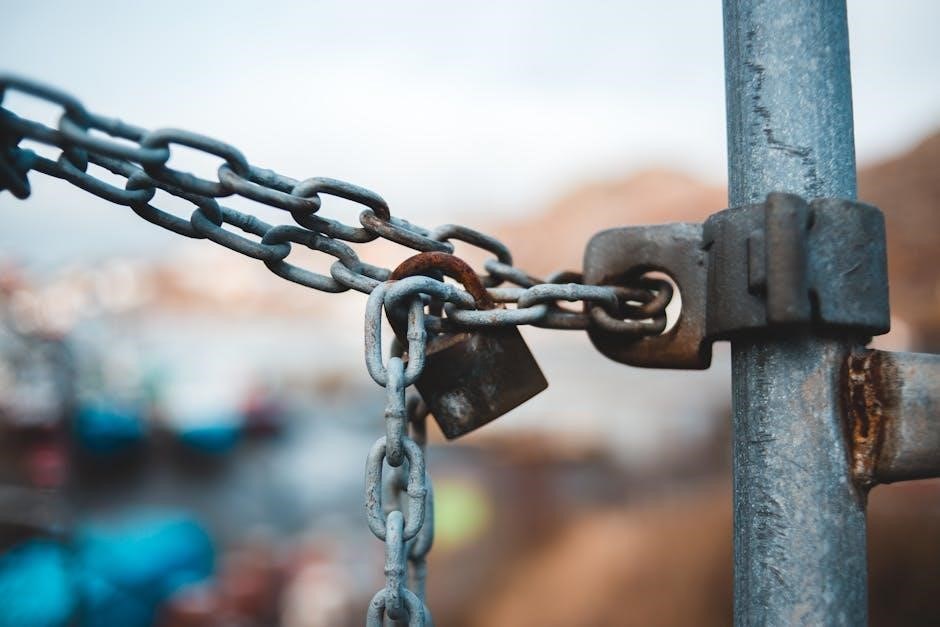
To ensure proper functionality‚ start by attaching hinges to the gate posts. Securely fasten the hinges to the gate frame using bolts. Next‚ install the latch or lock mechanism on the opposite post‚ aligning it with the hinges for smooth operation. Use a level to ensure everything is properly aligned. Tighten all hardware firmly to prevent sagging or misalignment. Finally‚ test the gate to ensure it opens and closes smoothly‚ making adjustments as needed for optimal performance.
Adding Tension Wire
Stretch the tension wire tightly between terminal posts‚ securing it with wire tighteners. Ensure the wire is level and evenly spaced. Tighten gradually to avoid over-tensioning‚ which can cause warping. For taller fences‚ multiple tension wires may be required. Use tie wires to secure the fabric to the tension wire‚ ensuring a straight and stable fence. Proper tension is crucial to prevent sagging and maintain structural integrity.
Securing with Tie Wires
Use tie wires to securely fasten the chain link fabric to the fence posts. Wrap the wire around the post and through the fabric‚ twisting it tightly to hold the fabric in place. Space tie wires evenly‚ typically every 12 inches‚ for optimal stability. Ensure the wires are tightly twisted using a wrench or pliers to prevent sagging. For added security‚ especially on taller fences‚ additional tie wires can be installed at mid-height. This step ensures the fabric remains taut and properly aligned with the posts.
Final Checks and Maintenance
Inspect the fence for damage‚ tighten loose wires‚ and ensure all hardware is secure. Clear debris and vegetation around the fence to maintain its appearance and durability.
Inspecting the Fence
After installation‚ inspect the fence for any damage‚ sagging‚ or loose connections. Check all posts‚ ties‚ and wire for proper tension and alignment. Ensure hardware is securely fastened. Look for signs of wear or rust‚ especially in high-stress areas like gate hinges. Verify that the fence fabric is evenly stretched and free from sagging. Address any issues promptly to prevent further damage and maintain the fence’s structural integrity and appearance.
Trimming Excess Wire
Use bolt cutters to trim excess wire from the fence fabric‚ ensuring a clean finish. Wear gloves to protect your hands from sharp edges. After cutting‚ inspect the wire ends and bend them slightly inward to prevent injury or damage. Double-check that all cuts are precise and align with the fence’s design. Proper trimming ensures the fence looks neat and functions securely‚ avoiding loose ends that could compromise stability or safety. This step is crucial for both aesthetics and long-term durability.
Regular Maintenance Tips
Regularly inspect the fence for sagging‚ loose wires‚ or damage. Tighten any loose parts‚ such as bolts or tie wires‚ to maintain structural integrity. Trim vegetation growing near the fence to prevent damage. Clean the fence periodically to remove dirt and debris‚ which can cause corrosion. Apply rust-proofing coatings to metal components to extend lifespan. Check for signs of wear‚ such as frayed wires or broken links‚ and repair them promptly. These maintenance steps ensure the fence remains secure‚ visually appealing‚ and durable over time.