
Suture removal is a critical step in wound care, ensuring proper healing and minimizing complications. It requires precision and adherence to sterile techniques to maintain patient safety and optimize recovery outcomes.
1.1 Overview of Suture Removal
Suture removal is a routine medical procedure to eliminate sutures once a wound heals. It involves cutting and pulling out the sutures, ensuring no material remains beneath the skin. Proper technique is essential to prevent infection and promote healing. The process typically includes cleaning the site, cutting the suture at the skin surface, and gently removing it with forceps. Sterile techniques and client preparation are crucial for a safe and effective procedure.
1.2 Importance of Proper Technique
Proper technique in suture removal is vital to prevent complications such as infection or skin irritation. Using sterile tools and maintaining a clean environment reduces contamination risks. Cutting sutures at the skin surface ensures no material is left behind, which can cause discomfort or delay healing. Gentle removal prevents tissue damage, promoting a smooth recovery. Adhering to best practices ensures patient safety and optimal wound healing outcomes, minimizing the risk of adverse reactions or prolonged recovery times.

Pre-Procedure Preparation
Gather materials like scissors, tweezers, and antiseptic solution. Position the client for easy access to the suture site, ensuring comfort and visibility for the procedure.
2.1 Gathering Necessary Materials
To perform suture removal, essential materials include sharp, sterile scissors, tweezers, antiseptic solution, gauze pads, and a waste container. Ensure all instruments are sterile to prevent infection. Prepare adhesive bandages for post-removal wound coverage. Having these supplies ready streamlines the process and maintains asepsis. Organize materials within easy reach to enhance efficiency during the procedure.
2.2 Client Preparation and Positioning
Position the client to allow easy access to the suture site, ensuring comfort and visibility; Cleanse the area with antiseptic solution to maintain sterility. Explain the procedure to reduce anxiety and ensure cooperation. Drape the area if necessary to maintain privacy and focus on the suture site. Proper positioning and preparation are crucial for a smooth and efficient suture removal process, minimizing discomfort and promoting a positive client experience.
Step-by-Step Suture Removal Process
The process involves cleaning the site, cutting the suture, and gently pulling it out, ensuring proper technique to avoid complications and promote effective healing.
3.1 Explaining the Procedure to the Client
Explaining the procedure to the client ensures understanding and cooperation. It involves discussing the steps, duration, and any sensations they may experience, such as mild discomfort or pinching; This communication helps reduce anxiety and ensures the client is prepared. It also provides an opportunity to address any questions or concerns they may have, fostering trust and cooperation throughout the suture removal process.
3.2 Removing Dressings and Cleaning the Site
Removing dressings and cleaning the site is essential for a sterile environment. Using gloves, gently lift the dressing edges, and discard it. Clean the area with antiseptic solution and gauze to remove debris. Pat dry with sterile gauze to prevent moisture, which can lead to infection. This step ensures the site is prepared for suture removal, promoting a clean and safe procedure. Proper cleaning is crucial for maintaining wound hygiene and preventing complications.
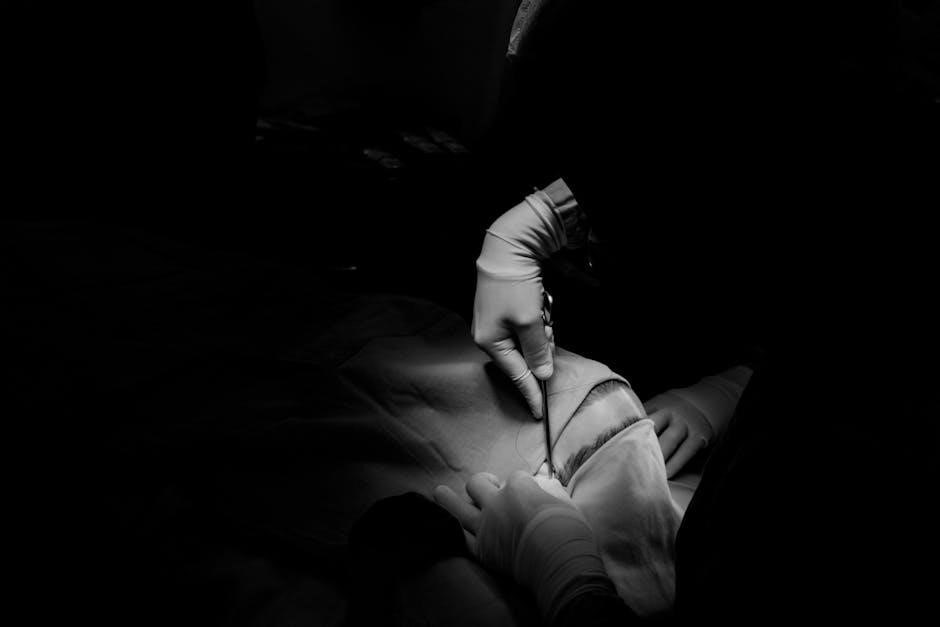
3.3 Cutting the Suture and Pulling It Out
Carefully cut the suture at the skin surface using sterile scissors. Grasp the knot with forceps, lift it slightly, and snip below the knot. Gently pull the suture out in one smooth motion. Avoid leaving any material beneath the skin, as this can cause infection. For non-absorbable sutures, removal is typically done 7-14 days post-surgery, depending on healing progress. Ensure all suture fragments are removed and disposed of properly to maintain sterility and prevent complications.
Post-Procedure Wound Care
Clean the wound with saline or antiseptic solution to prevent infection. Apply antibiotic ointment and cover with a sterile dressing. Monitor for redness or swelling daily;
4.1 Cleaning and Monitoring the Wound Site
After suture removal, gently clean the wound with saline or antiseptic solution to remove debris. Pat dry with a sterile gauze. Monitor for signs of infection, such as redness, swelling, or discharge. Document the healing progress and report any abnormalities to the healthcare provider. Regular inspection ensures the wound heals properly and minimizes the risk of complications.
4.2 Applying Antibiotic Ointment
After cleaning, apply a thin layer of antibiotic ointment to the wound site to reduce the risk of infection. This helps maintain a moist environment, promoting healing. Gently spread the ointment with a sterile swab, ensuring even coverage. Avoid overapplication, as it may delay healing. Reapply as directed, typically once or twice daily, or as prescribed by a healthcare provider. This step is crucial for preventing bacterial growth and supporting the healing process.

Timing of Suture Removal
Non-absorbable sutures are typically removed within 7 to 14 days, depending on wound healing progress and the extent of the surgery or injury sustained.
5.1 Factors Influencing Removal Timing
The timing of suture removal depends on factors such as the type of suture material, wound location, and the patient’s overall health. Absorbable sutures dissolve on their own, while non-absorbable sutures are removed once healing is sufficient. Wounds in areas prone to stress or motion may require extended suture retention. Patient factors, such as diabetes or smoking, can slow healing, delaying removal. Additionally, the presence of complications like infection may necessitate earlier intervention to prevent further issues.
5.2 Typical Timeframes for Different Sutures
Non-absorbable sutures are typically removed within 7 to 14 days, depending on the wound’s healing progress and location. Facial sutures may be removed sooner, around 4-5 days, while those on the back or limbs may remain for 10-14 days. Absorbable sutures, like Vicryl or Monocryl, dissolve naturally within 60-90 days. The timing varies based on the material, wound type, and patient factors, ensuring optimal healing without leaving residual marks or complications.
Common Complications and Precautions
Common complications include infection, scarring, or delayed healing. Precautions involve maintaining sterility, avoiding contaminated sutures, and monitoring for signs of infection to ensure safe removal and recovery.
6.1 Signs of Infection or Complications
Signs of infection include redness, swelling, warmth, pain, or pus around the suture site. Other complications may involve delayed healing or the presence of scar tissue. Monitoring for these indicators is crucial to address issues early. If any symptoms arise, immediate medical attention is necessary to prevent further complications and ensure proper wound recovery. Early detection can significantly improve outcomes and reduce the risk of serious infections or prolonged healing times.
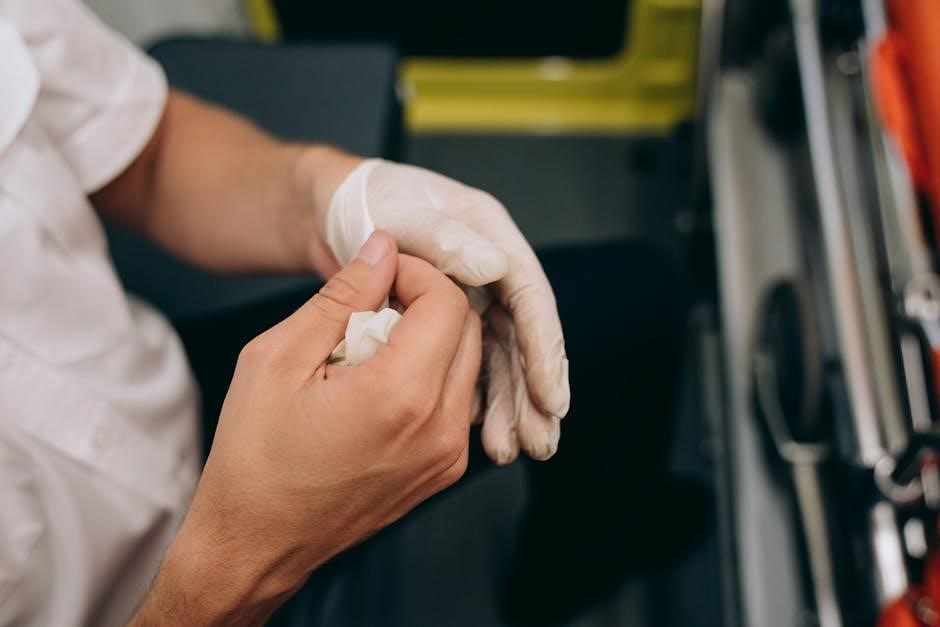
6.2 Preventing Contamination During Removal
Preventing contamination is vital to avoid infections. Use sterile gloves and clean the site with antiseptic solution before removal. Ensure all instruments, such as scissors and forceps, are sterilized. Handle sutures gently to avoid breaking the skin or introducing bacteria. Maintain a clean environment and minimize distractions during the procedure. Properly dispose of removed sutures and apply an antibiotic ointment if needed. Adhering to these steps reduces the risk of contamination and promotes a safe, effective suture removal process.
Patient Education and Aftercare
Patient education is crucial for proper wound care after suture removal. Emphasize monitoring for signs of infection, keeping the site clean, and adhering to follow-up appointments for optimal healing.
7.1 Providing Clear Post-Removal Instructions
After suture removal, provide patients with clear, easy-to-follow instructions. Emphasize keeping the wound clean, avoiding submersion in water, and monitoring for signs of infection. Advise on appropriate wound care, such as applying antibiotic ointment and covering the site with a sterile dressing. Instruct patients to avoid tight clothing that may irritate the area and to attend follow-up appointments as scheduled. Ensuring patients understand these steps promotes proper healing and reduces the risk of complications.
7.2 Encouraging Follow-Up Care
Encourage patients to adhere to follow-up appointments to monitor wound healing progress. Emphasize the importance of returning for any scheduled check-ups to ensure the wound is healing properly and to address any potential complications early. Provide patients with clear contact information for their healthcare provider and instruct them to report any signs of infection, redness, or swelling. Regular follow-up care helps prevent minor issues from escalating and ensures optimal recovery outcomes.
Proper suture removal techniques and post-care are vital for optimal healing and minimizing complications. Adhering to guidelines ensures patient safety and successful recovery outcomes.
8.1 Summary of Key Points
Suture removal is a precise process requiring sterile technique and proper tools. Key steps include preparing materials, explaining the procedure, cleaning the site, and gently cutting sutures. Post-care involves monitoring for infection, applying antibiotic ointment, and providing clear instructions. Timing varies based on wound healing and material type, with non-absorbable sutures typically removed within 7-14 days. Proper technique ensures minimal complications, promoting optimal recovery and patient safety.
8.2 Final Tips for Successful Suture Removal
Ensure proper preparation with sterile tools and clear communication to ease client anxiety. Use sharp instruments to avoid pulling or irritating the skin. Gently remove sutures, cutting close to the skin, and clean the site thoroughly. Apply antibiotic ointment to reduce infection risk. Provide detailed aftercare instructions, emphasizing wound monitoring and follow-up appointments. By following these steps, you can ensure a safe and effective suture removal process, promoting optimal healing and minimizing complications.