This manual provides detailed instructions for installing the GE UVC9360SLSS ventilation hood, ensuring proper and safe setup. Follow the guidelines carefully to achieve optimal performance and functionality.
Overview of the UVC9360SLSS Ventilation Hood
The GE UVC9360SLSS is a powerful and versatile ventilation system designed to enhance kitchen air quality. It features advanced capabilities to effectively remove smoke, odors, and grease, ensuring a cleaner and healthier cooking environment. This custom insert hood is equipped with dimmable LED lighting, offering both functionality and aesthetic appeal. Its robust design and energy-efficient operation make it a reliable choice for modern kitchens, providing long-lasting performance and ease of use.
Importance of Proper Installation
Proper installation of the UVC9360SLSS is crucial for ensuring optimal performance, safety, and longevity. Correct setup prevents issues like poor ventilation, electrical hazards, and reduced efficiency. Adhering to the manual’s guidelines guarantees compliance with safety standards and manufacturer specifications, minimizing risks of malfunction or damage. A well-installed system also maintains warranty validity and ensures a safe, efficient cooking environment, protecting both your appliance and home.
Safety Precautions and Guidelines
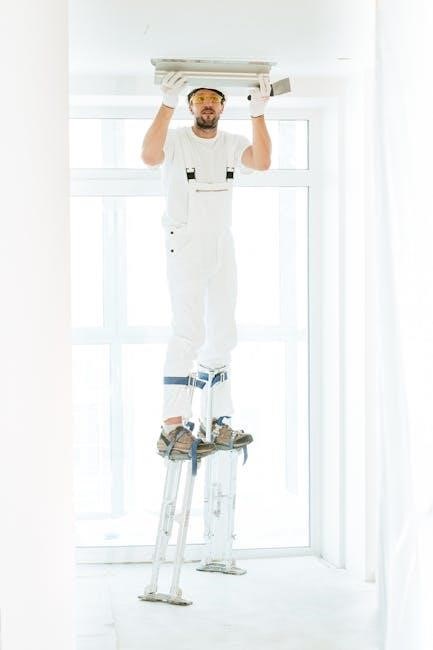
Always follow safety guidelines to avoid hazards during installation. Disconnect power before starting work, handle components carefully to prevent damage, and ensure all steps comply with the manual and local codes.
General Safety Tips for Installation
Before starting, disconnect the power supply to ensure safety. Use protective gear like gloves and goggles to prevent injury. Handle electrical components carefully to avoid damage. Follow the manual’s instructions precisely and adhere to local safety codes. Ensure proper ventilation and avoid overreaching or standing on unstable surfaces. Double-check all connections and components before energizing the system.
Electrical Safety Considerations
Ensure all electrical connections are secure and match the system’s requirements. Use properly rated wires and connectors to avoid overheating. Connect the black lead to the power supply and the white lead to the range hood. Keep electrical components dry and avoid overloading circuits. Verify local electrical codes and ensure compliance. Always turn off power before making connections to prevent shocks or short circuits.
Precautions for Handling and Mounting
- Always wear gloves when handling sharp or heavy components to prevent injury. Ensure the hood is lifted by two people to avoid strain or damage.
- Verify the mounting surface is level and sturdy to support the unit’s weight. Use the provided screws and brackets to secure the hood insert firmly to the cabinet.
- Avoid touching electrical components or wires during installation to prevent shock. Double-check all connections before powering on the system.
- Ensure proper alignment of the hood insert with the ducting and venting system to maintain airflow efficiency and safety.
System Components and Accessories
The UVC9360SLSS includes a hood insert, motor, LED lighting, filters, ducting adapters, electrical components, and mounting hardware. Ensure all parts are included before starting installation.
Key Components of the UVC9360SLSS
The UVC9360SLSS ventilation hood features a powerful motor, dimmable LED lighting, a charcoal filter, and a sleek, modern design. It includes ducted and ductless operation options, ensuring flexibility. The hood also comes with a control panel for easy operation. Accessories include mounting hardware, filters, and electrical components. These components work together to provide efficient ventilation, enhancing your kitchen’s air quality and cooking experience.
Tools and Materials Required for Installation
To install the UVC9360SLSS, you will need a screwdriver, pliers, wire nuts, and a drill. Additional materials include mounting screws, ducting components, and electrical connectors. Ensure you have a voltage tester for safety. Refer to the manual for specific tools and materials tailored to your installation type, such as ductless or ducted setups. Gather all items beforehand to streamline the process and ensure compliance with safety standards.
Understanding the Control Panel and Features
The UVC9360SLSS features a user-friendly control panel with buttons for fan speed adjustment, lighting control, and a delay-off function. The LED display provides clear operation feedback. Additional features include a filter cleaning indicator and automatic shut-off for energy efficiency. Familiarize yourself with these controls to optimize ventilation performance and maintain a clean kitchen environment. Refer to the manual for detailed descriptions of each function and how to customize settings for your cooking needs.
Installation Steps and Procedures
This section guides you through the UVC9360SLSS installation process, covering site preparation, hood mounting, electrical connections, and accessory setup. Follow instructions for a safe and proper setup.
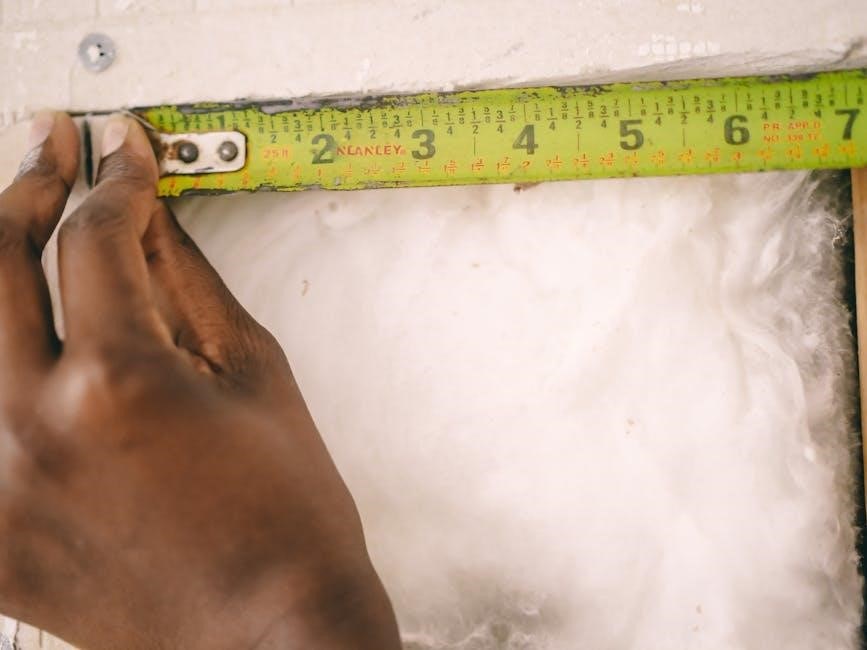
Preparing the Installation Site
Ensure the installation area is clear of debris and obstructions. Verify compliance with local codes and regulations. Measure the space to confirm compatibility with the UVC9360SLSS dimensions; Gather necessary tools and materials. Ensure the surface is level and stable. Double-check electrical connections are accessible and safe. Proper preparation ensures a smooth and safe installation process, aligning the hood correctly for optimal performance.
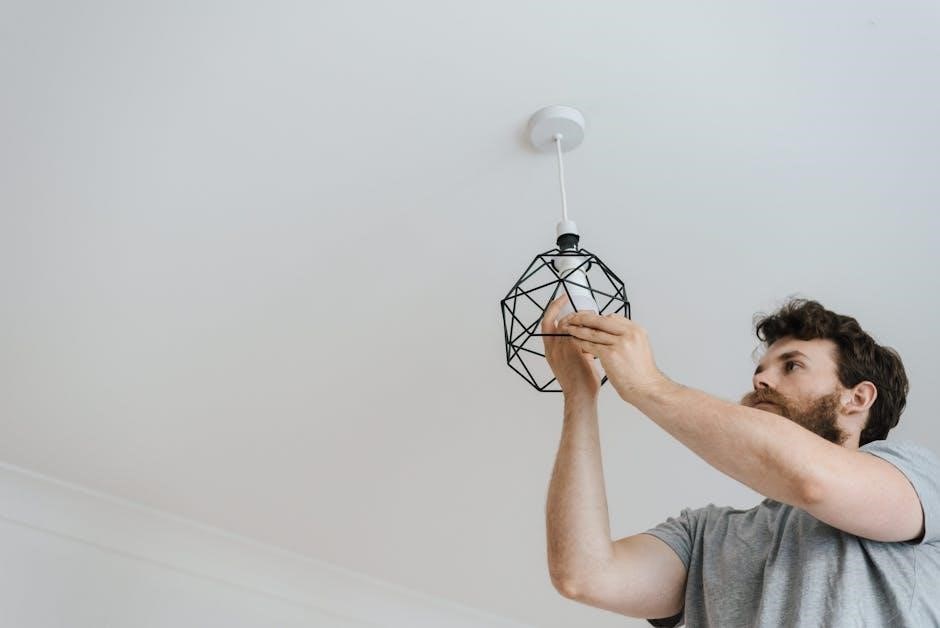
MOUNTING the Hood Insert
Align the hood insert with the mounting brackets, ensuring proper fitment. Secure it using the provided screws, tightening evenly to prevent instability. Double-check alignment and stability. Ensure all electrical connections remain accessible. Follow the manufacturer’s guidelines for torque specifications. After mounting, verify that the insert is level and firmly attached. This step is crucial for safe and efficient operation of the ventilation system.
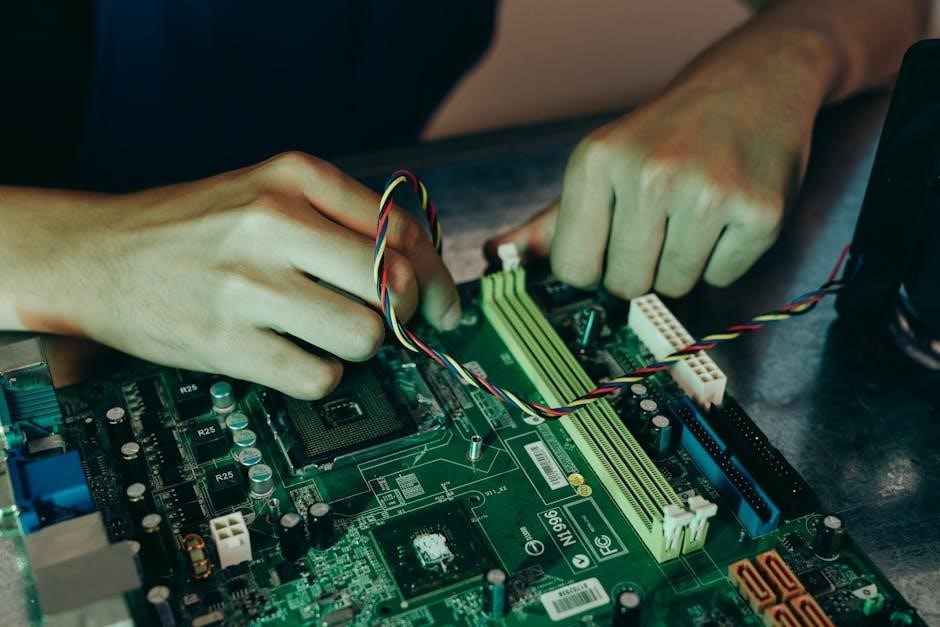
Connecting Electrical Wires and Components
Connect the white (neutral) lead of the power supply to the corresponding white lead on the range hood using a wire nut. Attach the black (live) lead of the power supply to the black lead on the hood. Ensure all connections are secure and tightly fastened. Double-check for any loose wires or connections. If unsure, consult a licensed electrician to avoid potential hazards. Proper electrical connections are critical for safe and efficient operation.
Installing Filters and Accessories
Begin by attaching the charcoal filter mounts to the motor using three screws per side. Insert the tab on the charcoal filter into the triangular slot on the mount. Ensure the filter is securely positioned. Reattach the electrical junction box cover after installing the filters. For additional accessories, follow the specific installation instructions provided in the manual; Properly installed filters and accessories ensure optimal performance and maintain air quality in your kitchen.

Ventilation and Ducting Requirements
Ensure proper ventilation by selecting the correct duct size and configuration. Use direct venting or recirculation options, adhering to local codes. Proper setup maintains performance and efficiency.
Understanding Ducting Options
The UVC9360SLSS offers two ducting options: direct venting to the outside or recirculation within the kitchen. Direct venting provides superior airflow and odor removal, while recirculation is ideal for kitchens without exterior access. Proper duct sizing and configuration are crucial for optimal performance. Use high-quality duct pipes, vent kits, and backdraft dampers to ensure efficient ventilation. Follow local building codes and manufacturer recommendations for installation.
Ensuring Proper Ventilation Setup
Proper ventilation setup is crucial for the UVC9360SLSS to function efficiently. Inspect ductwork for leaks or damage and ensure it is sized correctly. Use appropriate vent kits and backdraft dampers to maintain airflow. Align the range hood with the ducting system accurately and secure all connections tightly. Verify that the system meets local building codes and manufacturer specifications. Test the ventilation after installation to ensure optimal performance and air quality. Proper setup enhances safety and prolongs the product’s lifespan.
Final Checks and Testing
After installation, verify all electrical connections are secure and test the ventilation system to ensure proper airflow and fan operation. Check for any leaks or unusual noises.
Verifying Electrical Connections
Ensure all wires are securely connected to the corresponding terminals. Check that the power supply leads are correctly attached to the range hood’s wiring. Verify proper grounding to prevent electrical hazards. Turn the power on and test the system to confirm all functions operate smoothly. Consult the manual if any issues arise.
Testing the Ventilation System
After installation, turn on the power and test the ventilation system. Run the fan at high speed to ensure proper airflow. Check for any unusual noises or vibrations. Verify that all lights and controls function correctly. Test the exhaust fan by cooking or boiling water to confirm it effectively removes smoke and odors. Ensure filters are properly installed for optimal performance. If issues arise, refer to the troubleshooting section.
Troubleshooting Common Issues
Identify common problems like poor suction, unusual noises, or non-working lights. Check electrical connections, filters, and ducting for blockages or damage. Refer to the manual for solutions or contact GE support if issues persist.
Identifying and Resolving Installation Problems
Common installation issues include improper electrical connections, ducting blockages, or incorrect filter installation. Ensure all wires are securely attached and verify ducting is clear. If the hood does not power on, check circuit breakers and connections. For unusual noises, inspect fan balance and duct alignment. Refer to the manual for specific troubleshooting steps or contact GE support for professional assistance. Regular maintenance and proper alignment can prevent most issues.
FAQs and Solutions
- Q: How do I reset the system after a power outage?
A: Unplug the unit, wait 30 seconds, and plug it back in to reset. - Q: Why is the fan not turning on?
A: Check if the power switch is on and ensure all electrical connections are secure. - Q: Can I install the hood myself?
A: Yes, but follow the manual carefully and ensure compliance with local codes. - Q: How often should I replace the filters?
A: Replace charcoal filters every 1-2 months and clean metal filters monthly. - Q: What if the LED lights aren’t working?
A: Check the power supply and ensure the LED switch is turned on.
Consumer Support and Warranty Information
For assistance, refer to the Consumer Support section in this manual. Mail the pre-printed registration card for product registration. Contact GE for any inquiries. Use this unit as intended by the manufacturer. For servicing, contact qualified professionals.
Contacting GE Customer Support
GE Appliances offers comprehensive support for your UVC9360SLSS. For assistance, visit their official website or call the customer service hotline. You can also mail the pre-printed registration card for product warranty and support. Additionally, online resources, including manuals and troubleshooting guides, are available to help with installation and maintenance. The GE support team is ready to address any questions or concerns to ensure your ventilation system operates efficiently.
Understanding Warranty Coverage
The GE UVC9360SLSS is backed by a comprehensive warranty program. The warranty covers parts and labor for defective components, ensuring your investment is protected. Registration is required to activate the warranty, and it must be completed within a specified timeframe. For detailed terms, conditions, and duration, refer to the warranty section in this manual or visit GE Appliances’ official website. Proper installation and maintenance are essential to maintain warranty validity.